The layer Microsoft’s docs never show you.
Step-by-step guides for PIM and Privileged Access Groups are everywhere. Microsoft’s own docs cover the configuration sequence in detail. What they RARELY give you is the reasoning – the mental model that makes the steps make sense.
And that matters more than it sounds. When something behaves unexpectedly (a user who still has access they shouldn’t, an activation that doesn’t surface the permissions you expected, a role that won’t activate the way the documentation says it should) the checklist won’t tell you why. The mental model will.
What follows is that model. Five layers, each one building on the last. By the time you reach layer five, the whole system ought to click into place.
Start at the foundation. Everything else is built on top of it.
Layer 1 – Security groups – the keyring
The foundation. Everything else is built on top of this.
Think of a security group as a keyring. The keyring itself doesn’t belong to anyone. It just holds keys (permissions, access rights, resource entitlements, etc.). Add someone to the group and they get every key on that ring. Immediately. For as long as they remain a member.
Remove them and the keys are gone. No manual cleanup. No leftover access. The membership model handles it.
Clean. Predictable. And easy to over-trust – because a standard security group will hold most things, but not all of them. Some keys are too sensitive for a standard ring. That is where the model starts to get more interesting.
What makes a key too sensitive for a standard keyring? The answer is what makes this next layer worth understanding.

Layer 2 – Role-enabled security groups – a purpose-built keyring
Not all keyrings are created equal.
Certain privileges (specifically Entra ID directory roles) cannot be assigned through a standard security group. Microsoft is deliberate about this. To assign an Entra ID role through group membership, the group must be explicitly created as role-assignable at the time it is provisioned. This is not always required though.
However, this is a one-time, irreversible decision. You cannot retrofit a standard group. The isAssignableToRole property is set to true at creation and it stays that way. The membership behavior is otherwise identical (members still inherit every permission the group carries) but the group is now capable of holding role assignments that a standard group cannot.
Why does this matter beyond a configuration detail? Because role-enabled groups carry a different audit surface. They appear in role assignment reports. They are subject to different governance requirements. Knowing which groups in your tenant carry this flag (and who created them) is part of understanding your actual privilege footprint.
But this layer still hands everyone their keys the moment they join. That is about to change.
The next layer puts the keyring somewhere it cannot be passively held. This is where just-in-time access actually begins.

Layer 3 – PIM-enabling the group – the Privileged Access Group (PAG)
The keyring goes into a locked cabinet.
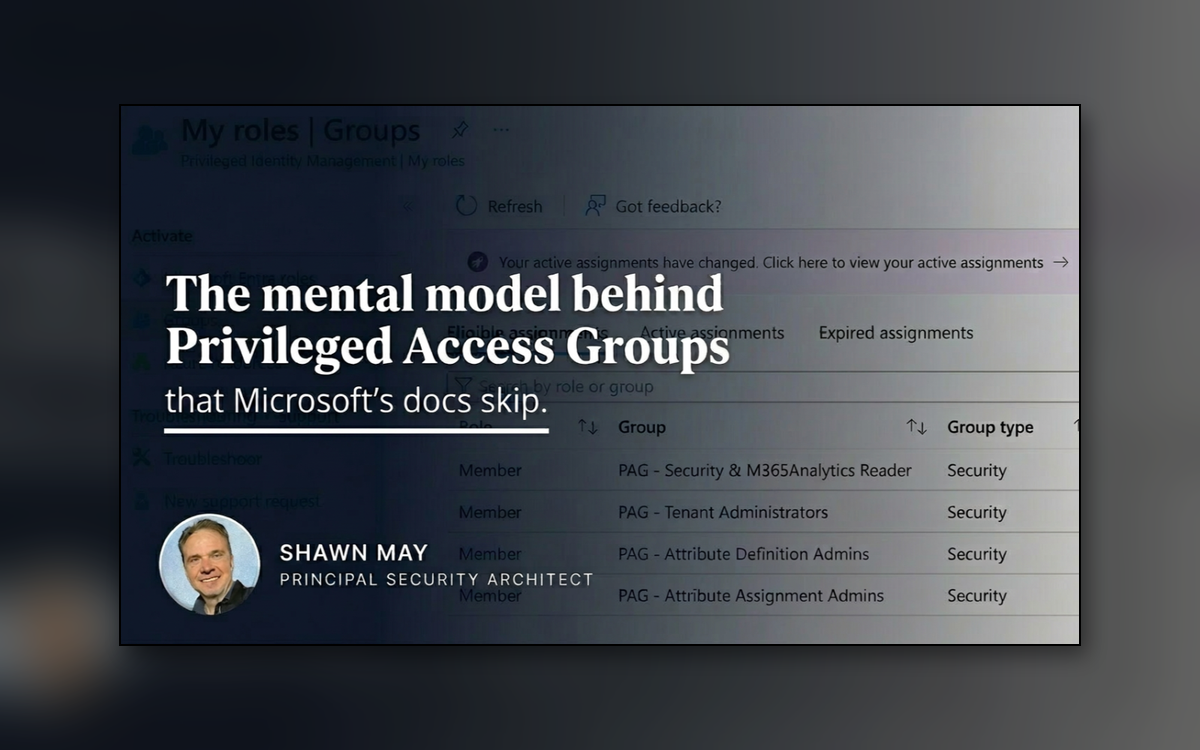
Privileged Identity Management is Microsoft’s just-in-time access engine. When you PIM-enable a security group, it becomes a Privileged Access Group or a PAG. And the access model changes fundamentally.
Before PIM-enablement, being a member of the group gave you the keys. After PIM-enablement, membership is no longer the mechanism. Instead, you receive an eligible assignment. Think of it as the combination to a locked cabinet where the keyring now lives. You have the combination. The keys are not in your pocket. Not yet.
One operational detail worth knowing: existing permanent members of the group at the time of PIM-enablement are not automatically converted to eligible assignments. They retain standing membership. Only new eligible assignments follow the just-in-time model going forward. If you are auditing a PAG and find users with persistent access, that is likely why. Ideally transition these permanent members to an eligible status.
The combination is yours. But opening the cabinet is a separate act. And that act has a name.
You have the combination. Now find out what opening the cabinet actually does, and why exactly the timer matters more than most people realize.

Layer 4 – Activation (opening the cabinet)
Just-in-time. Time-bound. Audited.
When you activate a PAG membership in PIM, you are dynamically added as an active member of the group. Every permission the PAG carries becomes live for the duration of your activation window. When the timer expires, the active membership is removed automatically. The keys go back into the cabinet. The cabinet locks.
Your eligible assignment (your combination) is never taken away. You can open it again the next time you need it.
This is the security property that makes PAGs worth the configuration overhead. Standing privilege is eliminated. Every access event is time-boxed. Every activation is logged. The audit trail is not a side effect – it is built into the architecture.
Activation windows are configurable, typically ranging from one to eight hours depending on policy. Some environments require a written justification before activation completes. Some require MFA or a compliant device. All of it is governed at the group level through PIM policy settings.
For most PAGs, opening the cabinet gives you everything inside it immediately. But for one specific type of PAG, there is a locked drawer inside the cabinet that the combination does not open.
The cabinet is open. Most keys are right there. But some of the more sensitive ones are behind a second lock inside – this is where most guides stop explaining.

Layer 5 – Eligible roles inside a role-enabled PAG (the locked drawer)
Some keys need a second lock. This is intentional.
This layer only applies to role-enabled PAGs – the ones carrying Entra ID directory role assignments.
When you activate your PAG membership (Part A), most permissions become immediately available. But Entra ID directory roles assigned to the PAG remain in a separate locked drawer inside that cabinet. Opening the cabinet does not open the drawer. If you need those role permissions, you activate them separately through PIM (Part B).
This is not an oversight in the design. Directory roles (Global Administrator, Privileged Role Administrator, Security Administrator and others) carry permissions that warrant their own activation event, their own justification entry, and often a shorter time window. Collapsing both into a single activation would undermine the governance model those roles exist to enforce.
In practice, users in high-privilege environments may complete two activation steps in a single working session. Part A activates group membership and unlocks the group’s non-role permissions. Part B separately activates the directory role assignment for the duration needed. Both are time-boxed. Both are logged. Both are auditable.
Two locks. Two logs. Two distinct audit events. That is not overhead – which is precisely the point.

Why the mental model matters more than the checklist
Configuration guides will get you through the steps. They will not tell you why a role-enabled PAG requires two separate activations, or why existing permanent members survive PIM-enablement unchanged, or why the audit trail for a directory role activation is a distinct event from the group membership activation that preceded it.
The mental model answers all of that. The keyring, the purpose-built keyring, the locked cabinet, the combination, the locked drawer inside – each layer maps to something real in Entra ID. Once those layers are clear, unexpected behavior stops being mysterious. You know what is happening and why.
That is the difference between following a process and actually understanding it. One gets you through today. The other gets you through the edge case on a Friday afternoon when the documentation is not helpful and the answer has to come from you.
The steps are in the docs. The mental model is what you bring to the room when the steps do not cover it.
If this was useful, share it with someone who is about to configure their first PAG. The mental model is easier to build before the first activation than after the first unexpected behavior.

P.S. If you want to skip the manual work, we have scripts which builds PAGs from scratch – creates the role-enabled security group, brings it under PIM management, and configures eligible assignments in one pass. Drop me a message here on LinkedIn and I will send it your way. No strings attached.